Using Snap Grid Manager (Basic)
To create, edit, or delete snap grids with any of the three Snap Grid Managers
To create a Snap Grid, follow these steps:
- In the Admin Portal menu, click Snap Grids.
- Click Create Snap Grid.
- From the Aspect Ratio list, select an aspect ratio.Note: A snap grid is specific to a single aspect ratio. Aspect ratios are defined for specific accounts, and are screen dimension ratios written as width over height (W/H). For example, the resolution of the Prysm 190 is 3843 by 1280 (3843 pixels wide by 1280 pixels tall). When 3843 over 1280 is reduced, the approximate result is a 3 by 1 aspect ratio. Aspect ratios are used to determine object sizes, snap grids, and project layouts.
- Click Generate from workspace to turn a user's workspace layout into a snap grid.
- From the Snap Grids page, select Create Snap Grid.
- From the Aspect Ratio list, select an aspect ratio.
- In the Snap Grid Manager (Basic) table, select values for the snap grid.
The table below lists default snap grid settings and what they mean. - Click Save to save the new snap grid.
-
To generate editable XML based on the basic snap grid definition, click Generate Xml.
This converts the settings from the basic snap grid into XML and displays the XML in the XML Snap Grid Manager (Advanced) text box. For more information, see Using XML Snap Grid Manager (Advanced).Warning: If the XML code is written incorrectly, Prysm may crash.
| Setting | What it does | Default (pixels) |
|---|---|---|
| Top | Starting from the upper-left corner, the padding distance between the top of the screen and the Snap Grid | 5 |
| Left | Starting from the upper-left corner, the padding distance between the left side of the screen and the Snap Grid | 5 |
| Height | The height of each grid | 90 |
| Width | The width of each grid | 90 |
| Rows | Number of rows in the grid system | 2 |
| Columns | Number of columns in the grid system | 2 |
| XMargin | Distance between each row | 5 |
| YMargin | Distance between each column | 5 |
| Labels | Creates text labels for each grid. Separate them using a vertical bar ( | ) symbol |
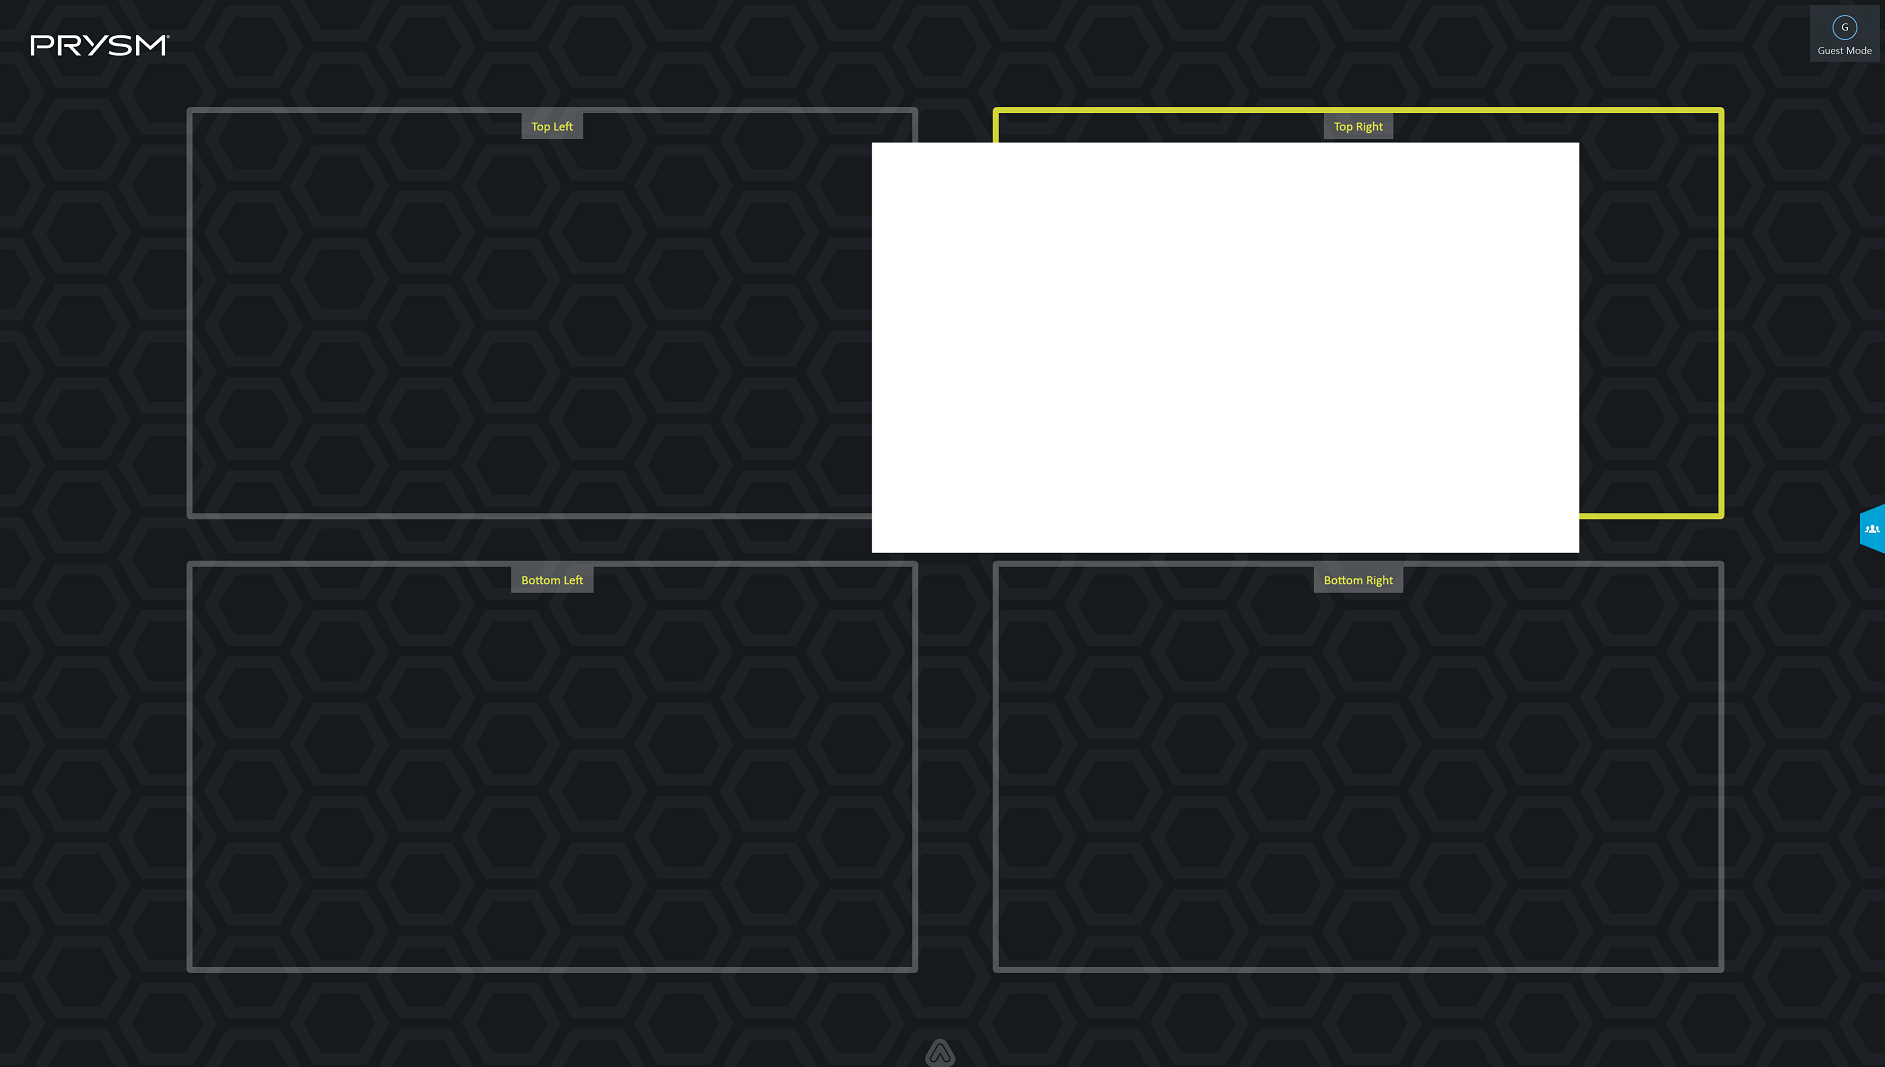
For example, you could create a snap grid with two rows and two columns in the snap grid and added the following labels: Top Left|Top Right|Bottom Left|Bottom Right. Then your snap grid on a Prysm display would look like this: