Enabling Skype for Business integration
Note: Prior to enabling Skype for Business, make sure that Skype for Business has been installed on the Prysm Application Appliance. See Licensing and prerequisites for Skype for Business.
To enable Skype for Business,
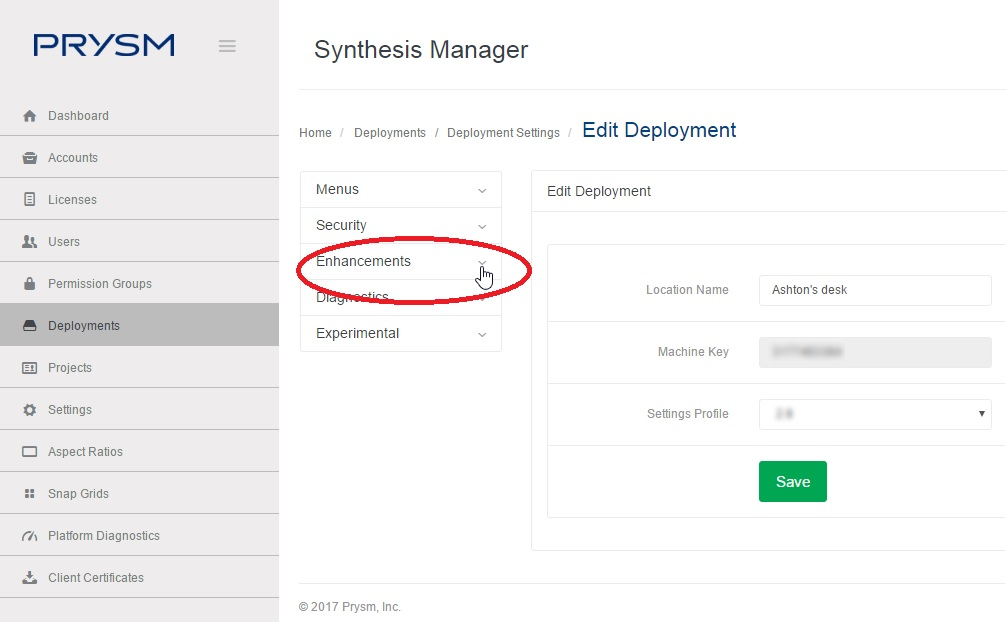
- From the Deployments page, find the deployment that you want to modify and click Edit.
- From the Edit Deployment page, select the Enhancements dropdown menu.

-
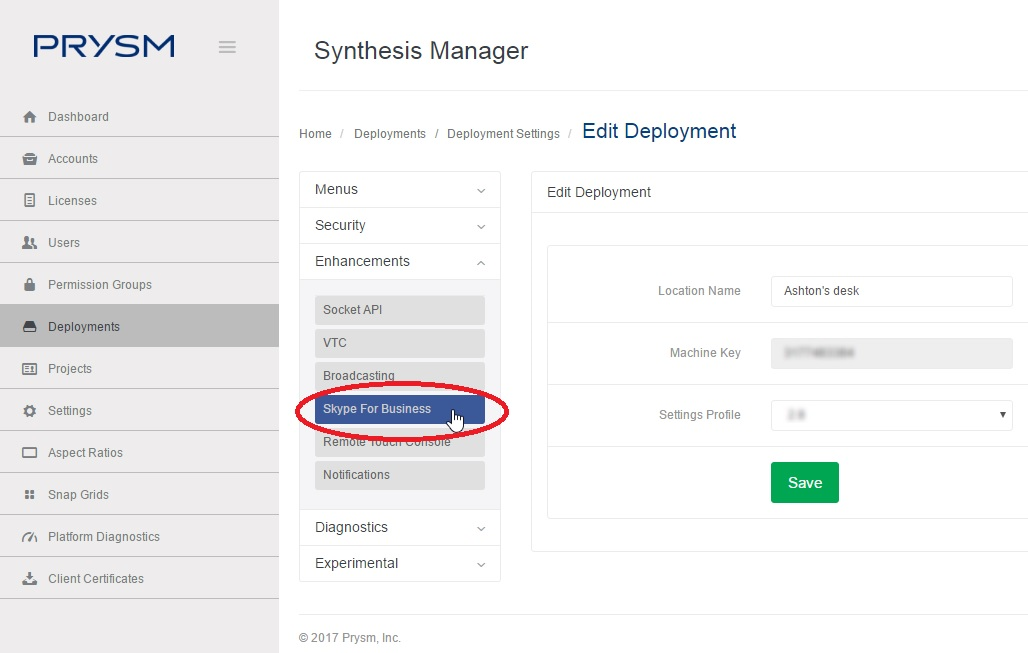
From the dropdown menu, select Skype For Business.

-
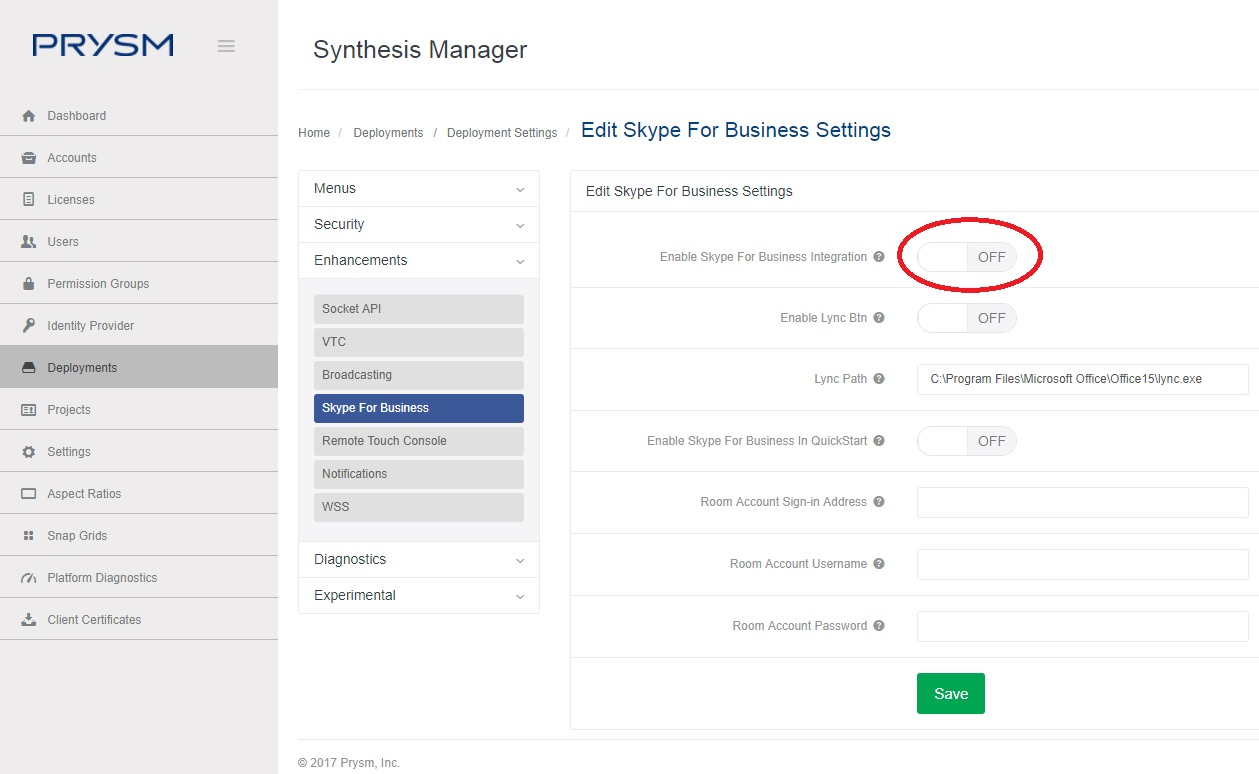
Locate the Enable Skype For Business Integration ON/OFF toggle within the Edit Skype For Business Settings page.

- There are two instances available for Skype for Business to be enabled.
- For the Prysm authenticated experience, which requires a user to sign in, click the OFF button and it changes to ON for the Enable Skype for Business Integration.
-
For the Prysm Go experience, click the OFF button and it changes to ON for the Enable Skype for Business in Quickstart.
 Note: For Skype for Business to work in the Prysm Go Experience, both 5.a. and 5.b. must be enabled.
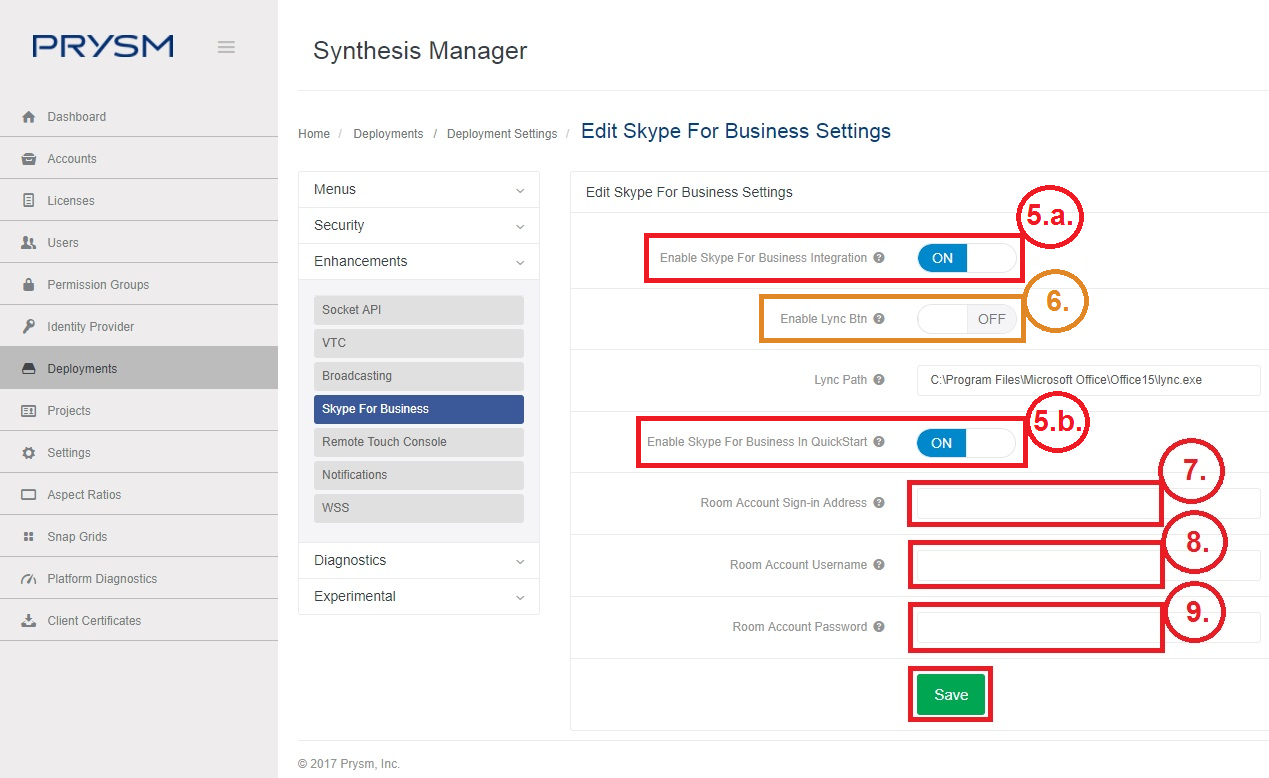
Verify that the Enable Lync Btn (outlined in tan above) is in the OFF position. It cannot be ON if either of the Enable Skype for Business Integration or Enable Skype for Business in Quickstart buttons are ON. The lync button and any Skype button cannot both be ON.
Note: If the VC feature has been enabled, none of the Skype for Business features can be enabled. The Enable Lync Btn must also be OFF for the VC feature to work.
In order for the S4B integration to work from the Welcome screen, it is necessary to configure the location (display) with a Skype Room Account. For detailed instructions on how to configure a Skype Room System Account, see Enabling Skype for Business in Prysm Go.
- Enter the Room Account Sign-in Address in the field required.
- Enter the Room Account Username in the field required.
- Enter the Room Account Password in the field required.
- Save the changes.
- Skype for Business is now enabled.