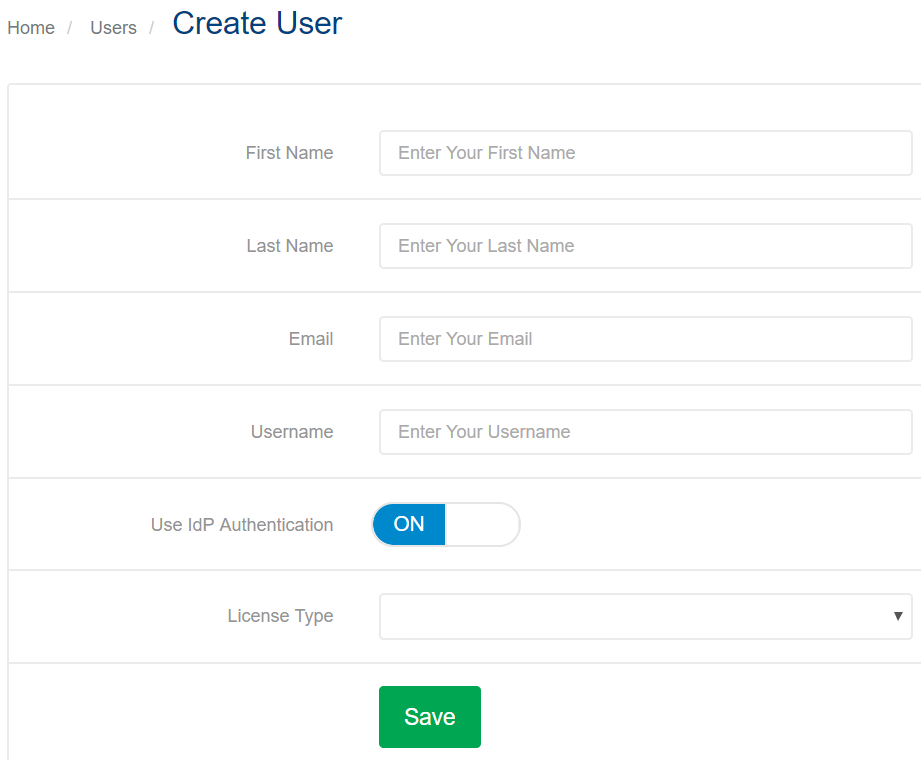
In the First Name and Last Name fields, enter the first name and last name for the user. These names should match the names configured for the user in the enterprise identity provider.
In the Email field, enter the email address that is configured for the user in the enterprise identity provider.
In the Username field, enter a username for the user. This username can be the same as the email address.
If your account has IdP authentication enabled, Use IdP Authentication is ON by default. If you are creating a user with IdP authentication, skip to step 7. If you toggle Use IdP Authentication to the OFF position, you are creating a user with Prysm authentication rather than a user with IdP authentication. This may be useful for users designed to be automatically signed into public displays, or for administrators who need to be able to sign in to more than one Prysm account.
To create a user with Prysm authentication, toggle Use IdP Authentication to the OFF position.
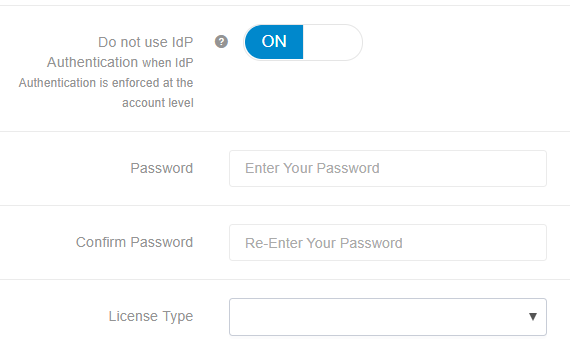
Set the Do not use IdP Authentication toggle as follows: ON to maintain users with Prysm authentication, such as users for a lobby system. OFF if the user can convert from Prysm to IdP authentication.
Enter and confirm a password for the user.
From the License Type list, select User License. User License is the only license type available for an account with IdP authentication configured.
Click Save to save changes and create the user. The new user is created with Basic User permissions. Add additional permissions based on the group configuration between the enterprise identity provider and Prysm.
 .
.